Changing your BuildBee printer device type
Step 1: Go to BuildBee.com or open BuildBee Desktop
This tutorial will work for either BuildBee Desktop or BuildBee.com. You will need to open BuildBee and sign in to your account.
Step 2: Go to the Printers page
Step 2: Go to the Printers page
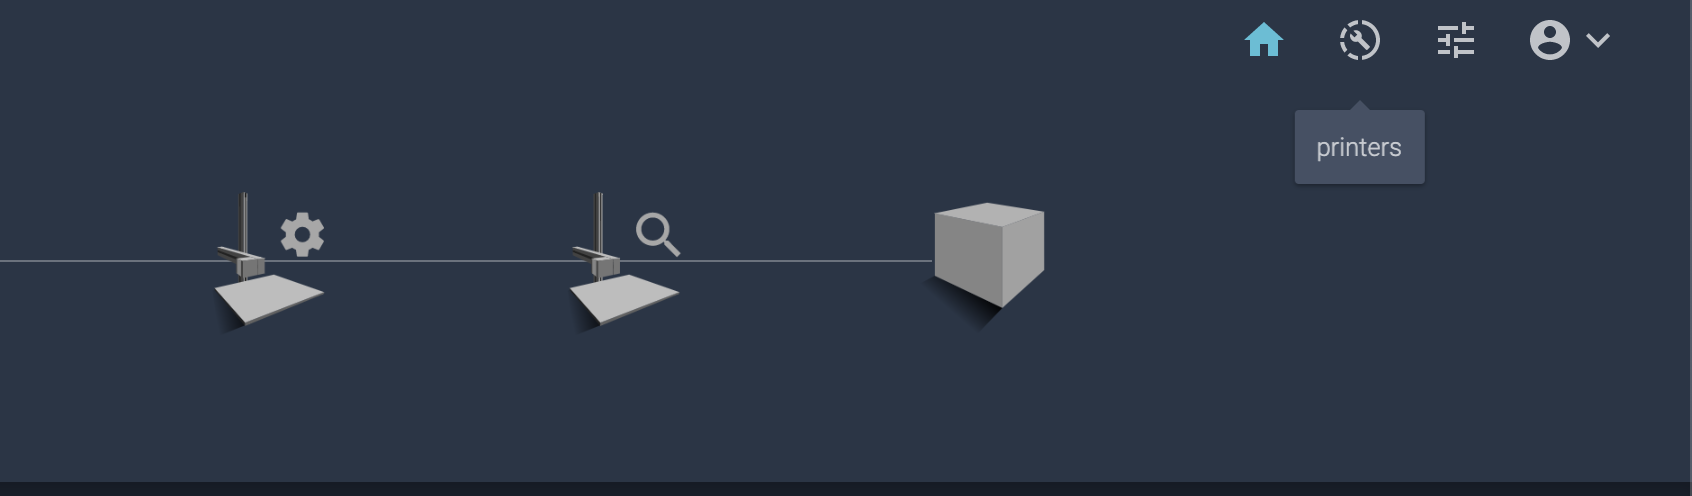
In the top right hand of your screen you will find the navigation menu. Click the Printers button.
Step 3: Find your BuildBee device and open the maintenance console
Find your BuildBee device in the printers list and click the Maintenance button.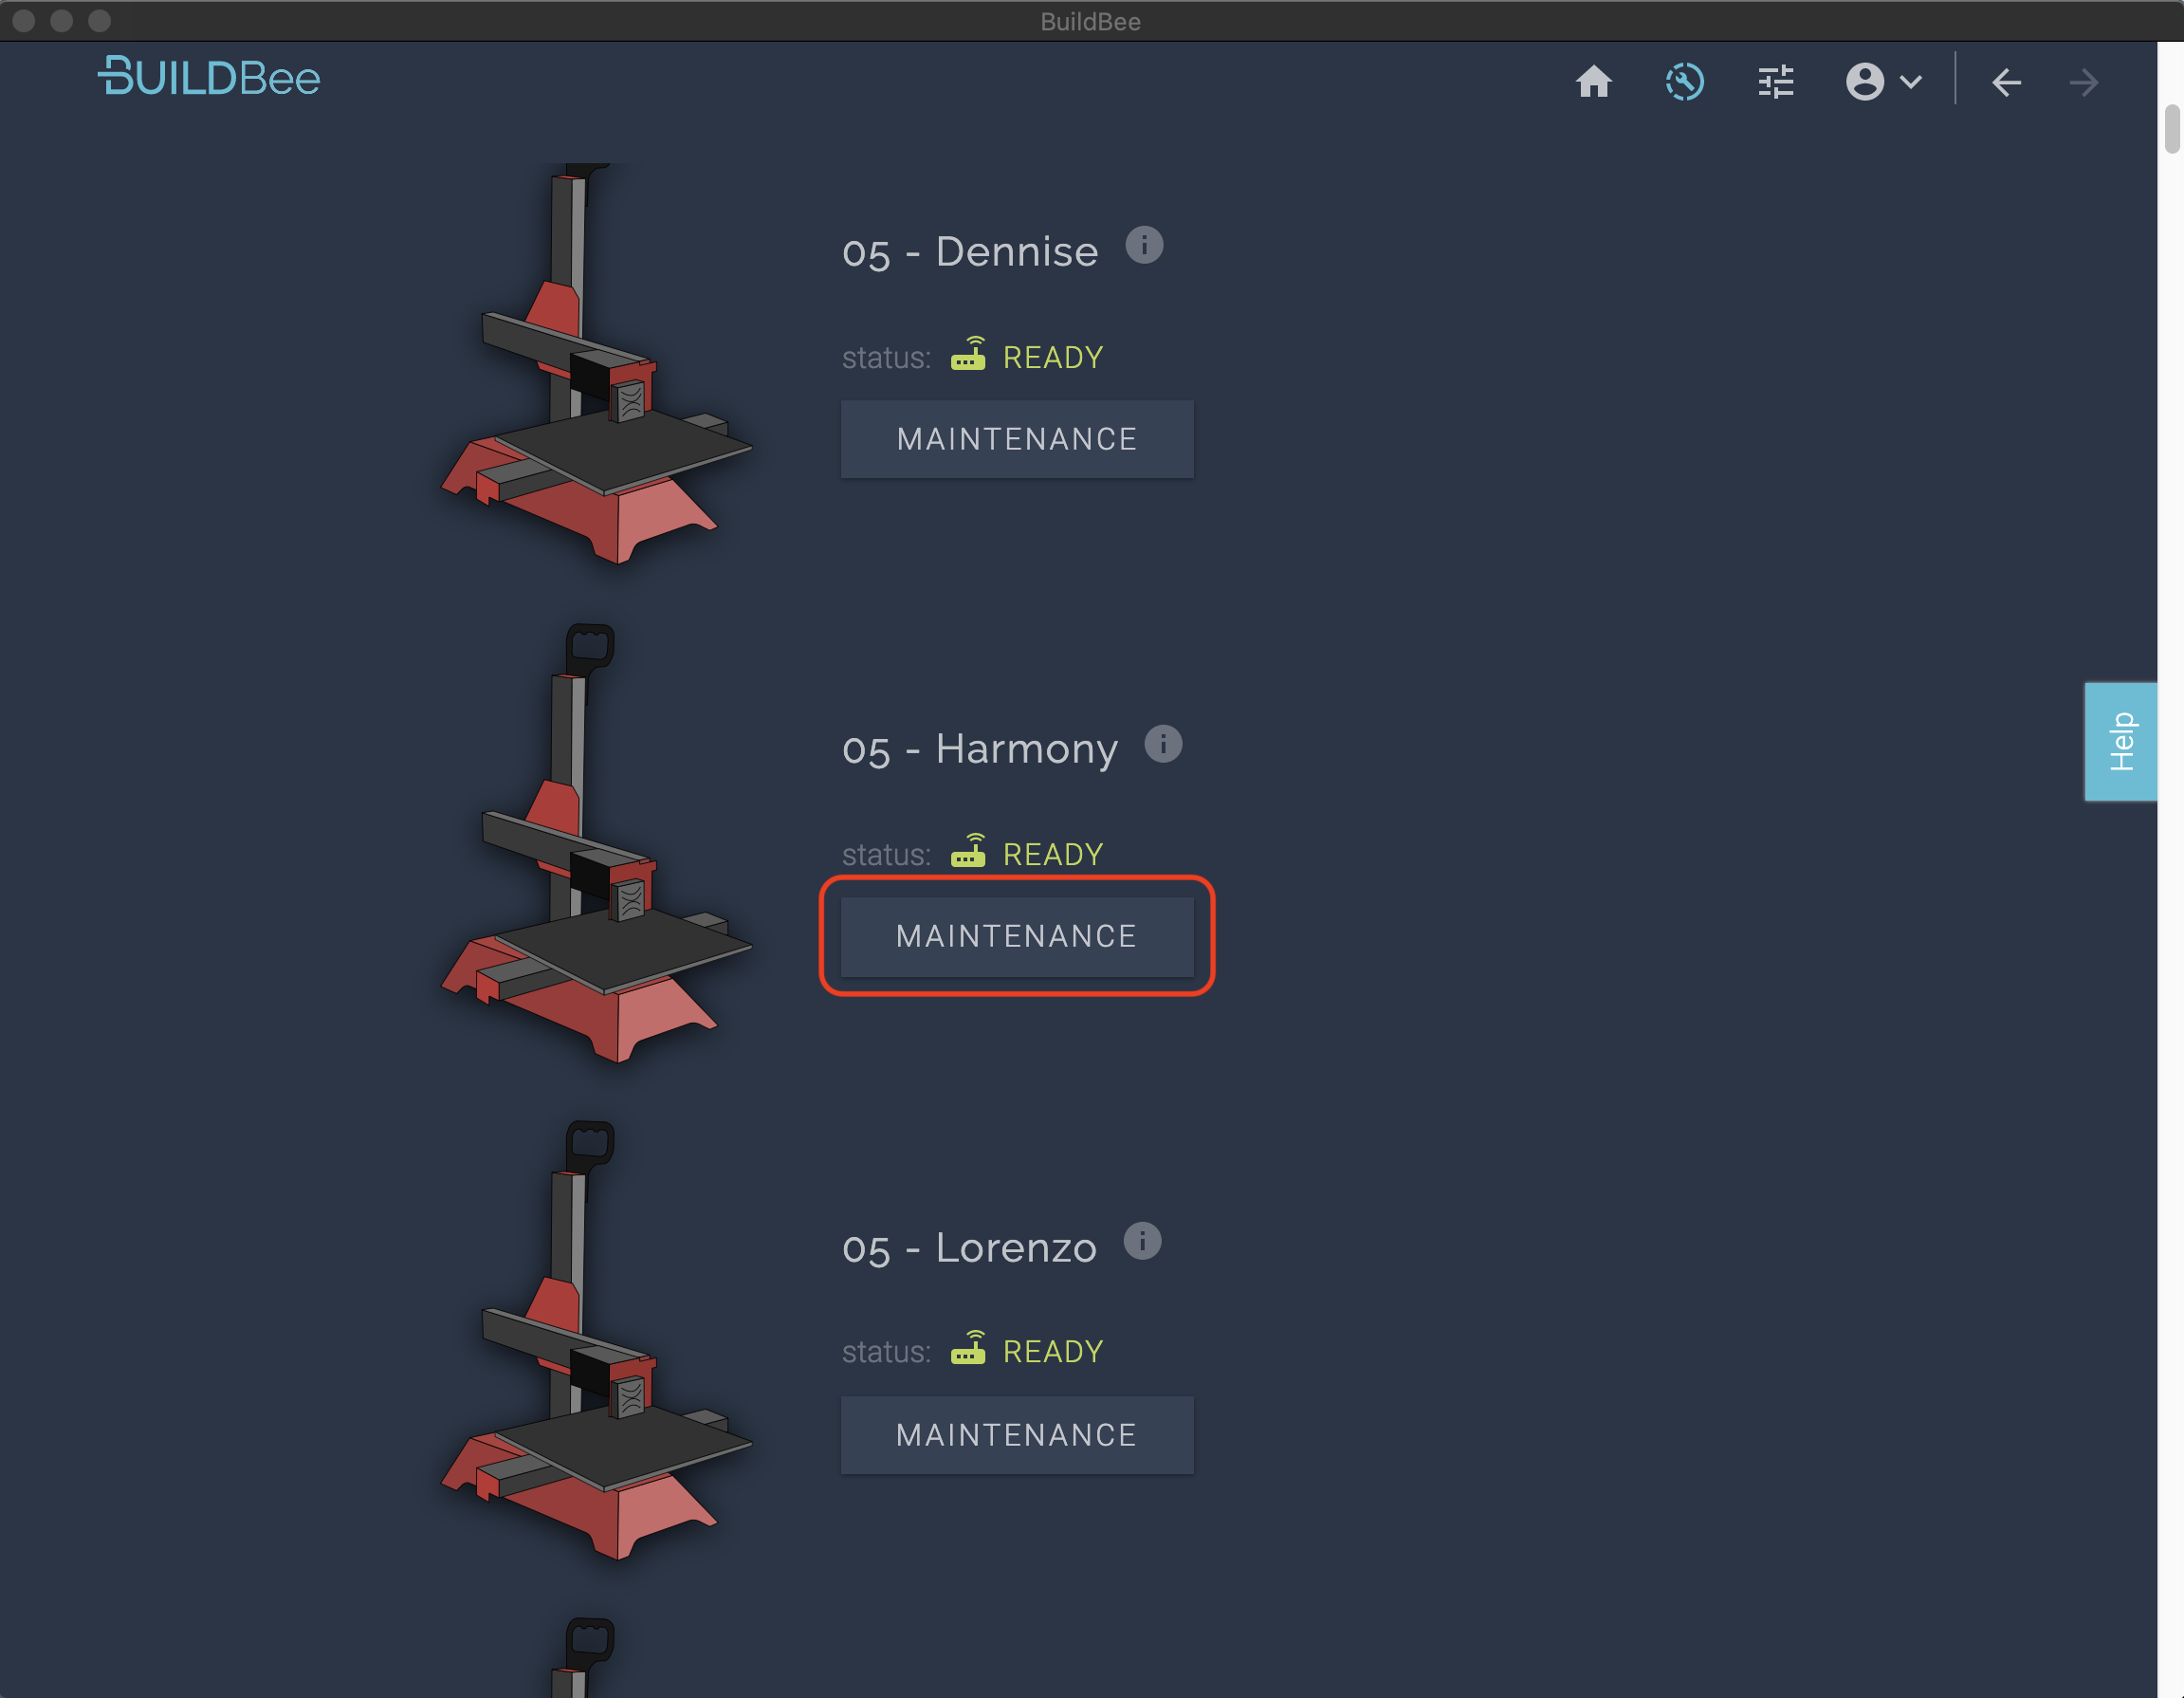
Step 4: Go to the System Info tab
In the maintenance console, click the System Info button. You will see a section called Printer Device Profiles.
Simply select the manufacturer of your device followed by the model of your printer.
Simply select the manufacturer of your device followed by the model of your printer.
Step 5: Confirm your change
Click Change Device Profile to save your change. You can now close the maintenance console.
After 30 seconds BuildBee should successfully connect to your printer.
The next step
Now that you have configured your device you are ready to enjoy using your printer in the BuildBee ecosystem.
For more information on how to start printing, check out our Running a print article.